
First pipeline
Once you’ve set up an Arroyo cluster, you’re ready to start building pipelines. This tutorial will walk you through how to use Arroyo to process data in real-time.
Start by opening up the Arroyo Web UI at http://localhost:5115.
Creating a demo source
Section titled “Creating a demo source”Arroyo includes several generated data sources we can use to try out the engine. To create one, go to the Connections tab on the left menu, and click “Create Connection”.
From there, you can choose what type of connection you would like to create. For this tutorial, we’re going to create a Nexmark source. Nexmark is a standard benchmark for streaming systems. It involves various query patterns over a data set from a simulated auction website.
Find Nexmark in the list of connectors and click “Create.” Then set the desired event rate. For this tutorial, 100 messages/sec should suffice. Leave the other fields blank.
Click next, and finally give name the source nexmark, and click “Test
Connection,” then “Create” to finish creating the source.
Creating a pipeline
Section titled “Creating a pipeline”Now that we’ve created a source to query, we can start to build pipelines by writing SQL. Navigate to the Pipelines page on the left sidebar, then click “Create Pipeline.”
This opens up the SQL editor. On the left is a list of tables that we can query (our catalog). The main UI consists of a text editor where we can write SQL, and actions we can take with that query, like previewing it on our data set.
First query
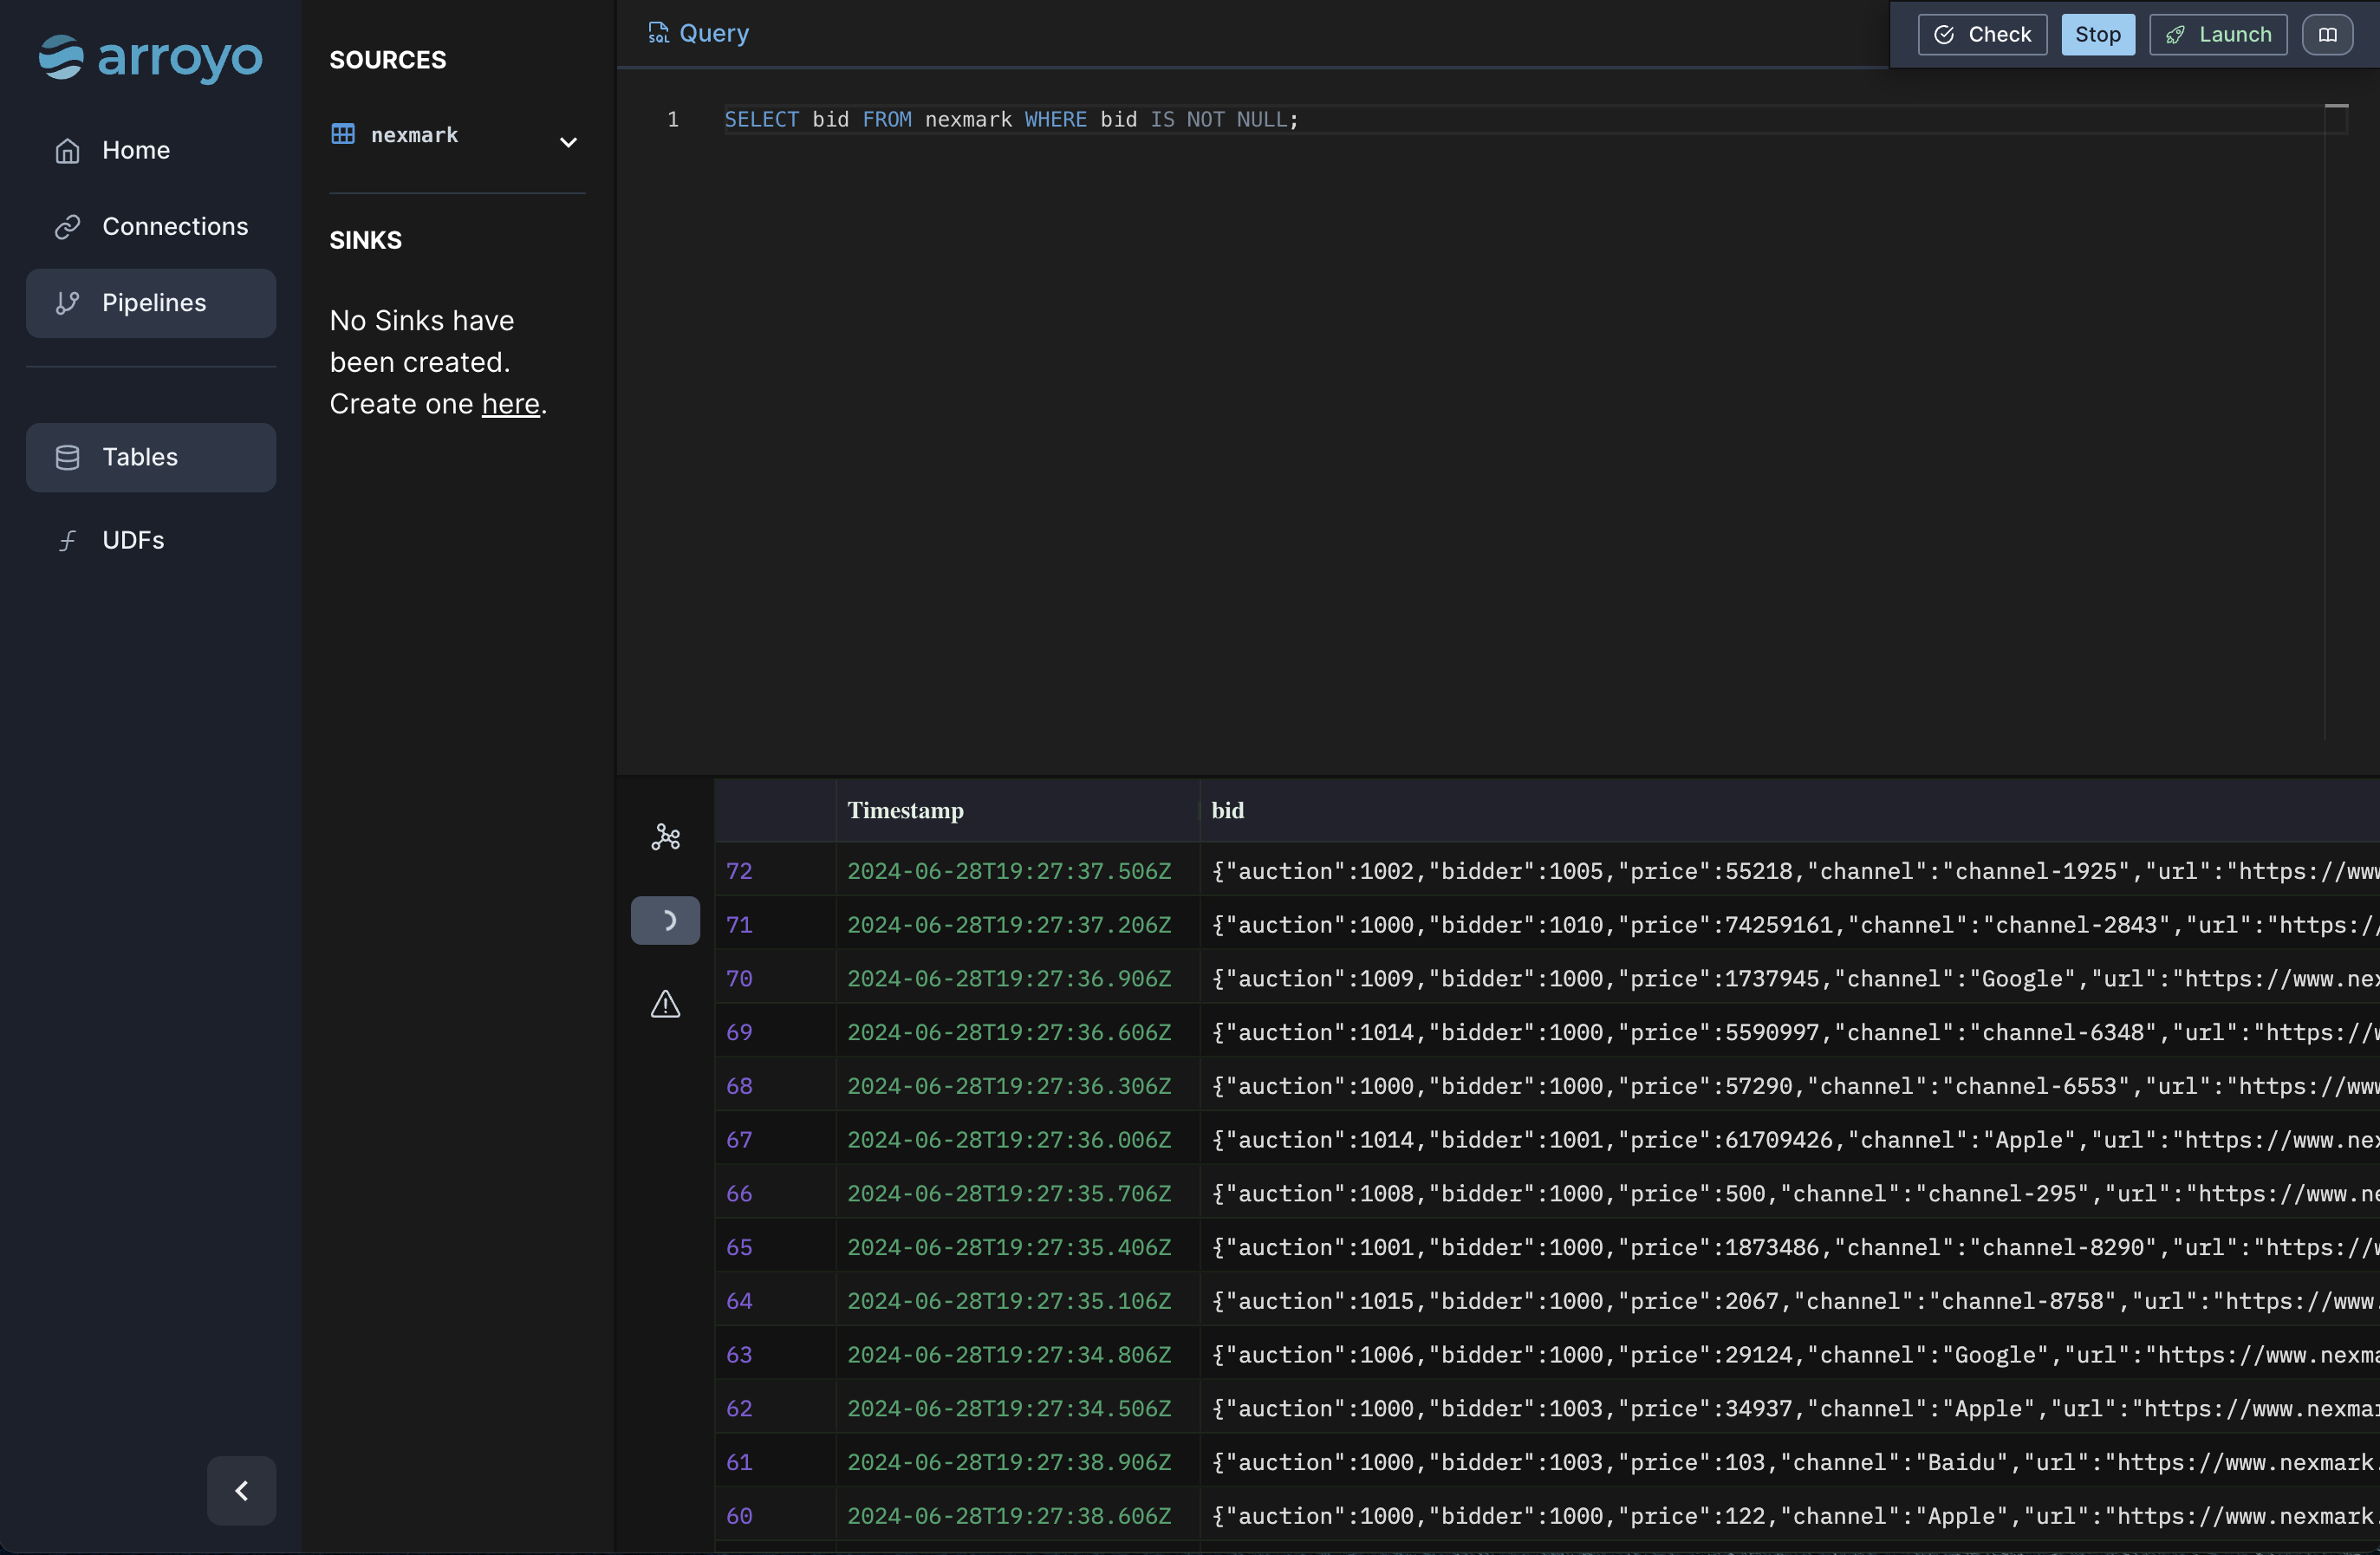
Section titled “First query”Let’s start with a simple query. Type this into the editor:
SELECT bid FROM nexmark WHERE bid IS NOT NULL;and hit “Preview.”
This will simply dump out all of our data from our source that fits the filter criteria, which can be useful to get a handle on our data before we start to build more sophisticated queries.
Once the query runs, you should start to see outputs in the Results tab. Since we did a simple pass-through query, each input event will result in a single output line.
Windows
Section titled “Windows”Many streaming pipelines involve working with time in some way. Arroyo supports
a few different ways of expressing computations over the time characteristic of
our data. Let’s add a sliding window (called hop in SQL) to perform a
time-oriented aggregation:
SELECT avg(bid.price) as avg_priceFROM nexmarkWHERE bid IS NOT NULLGROUP BY hop(interval '2 seconds', interval '10 seconds');This query computes an aggregate function (avg) over a sliding window with a 10 second width, updating every 2 seconds. You can preview this and see that it does what you would expect: produce a result every 2 seconds for the average bid price for all bids in the past ten seconds.
Arroyo supports complex analytical SQL functions, like SQL windows. Let’s use that capability to implement query 5 of the Nexmark benchmark, which asks us to find the top 5 auctions by the number of bids over a sliding window. In Arroyo, that query looks like this:
SELECT auction, row_num FROM ( SELECT *, ROW_NUMBER() OVER ( PARTITION BY window ORDER BY count DESC) AS row_num FROM (SELECT count(*) AS count, bid.auction AS auction, hop(interval '2 seconds', interval '60 seconds') AS window FROM nexmark WHERE bid is not null GROUP BY 2, window)) WHERE row_num <= 5Plug that into the editor and preview it, validating the results look like we expect.
Running the pipeline
Section titled “Running the pipeline”Once we’re happy with it, we can run the pipeline for real. Click the “Launch” button, give it a name
(for example “top_auctions”). Because we didn’t specify a sink in the query (via an INSERT INTO statement),
Arroyo will automatically add a Web sink so that we can view the results in the Web UI. Click “Start” to create
the pipeline.
This will start the pipeline. Once it’s running, we can click nodes on the pipeline dataflow graph and see metrics for that operator. Clicking into the Outputs tab we can tail the results for the pipeline. The Checkpoints tab shows metadata for the checkpoints for the pipeline. Arroyo regularly takes consistent checkpoints of the state of the pipeline (using a variation of asynchronous barrier snapshotting algorithm described in this paper) so we can recover from failure.
We can also control execution of the pipeline, stopping and starting it. Before stopping the pipeline Arroyo takes a final checkpoint so that we can restart it without any data loss.