
Parsing with UDFs
Arroyo has built-in support for a number of data formats, including JSON, Avro, and Parquet. But what if you need to support reading and writing data in a custom format?
User-defined functions (UDFs) to the rescue! UDFs allow you to write custom code (currently in Rust) that can be used in your SQL queries. This can extend Arroyo in powerful ways, implementing complex logic, new types of aggregations, and more.
In this tutorial we’ll walk through how to use UDFs to parse a custom format, in this case the Common Log Format, which is used by many webservers to log requests.
The Common Log Format (hereafter CLF) is a simple, line-oriented textual format. Each line represents a single request, and has the following format:
host ident authuser [date] "request" status bytesFor example:
127.0.0.1 user-identifier frank [10/Oct/2000:13:55:36 -0700] "GET /apache_pb.gif HTTP/1.0" 200 2326Set up
Section titled “Set up”Before you begin, you will need a running Arroyo cluster. You can follow the instructions in the getting started guide.
We will also be using Arroyo’s StreamGen tool to generate some sample data (you can also use your own data via Kafka or one of the other sources if you prefer).
You can install StreamGen with if you have Cargo installed:
$ cargo install streamgenOr you can download a pre-built binary from the releases page.
Once everything is set up you, should be able to run
$ streamgen --helpUsage: streamgen [OPTIONS] <SPEC>
Arguments:  <SPEC>  Type of data to generator [possible values: common-log, impulse]
Options:  -o, --output <OUTPUT>  Controls where the generated data is sent [possible values: stdout, sse]  -r, --rate <RATE>      Rate of generation in records per second  -l, --limit <LIMIT>    Max number of records to generate      --port <PORT>      Port for SSE server  -h, --help             Print help  -V, --version          Print version
Generate some data
Section titled “Generate some data”Let’s start by generating some sample data. We’ll use StreamGen to generate a stream of CLF records, and send them to Arroyo via Server-Sent Events.
$ streamgen --format string common-log sse --port 9563This will start a server on port 9563 that will respond to SSE requests with a stream of CLF records. You can test it out by running:
$ curl -N http://localhost:9563/ssewhich should produce a stream of output like:
id: 9236data: 45.169.149.76 - clara_quidem [30/Nov/2023:13:51:25 -0800] "GET /var/day.xls" 200 4746 "-" "Mozilla/5.0 (Windows NT 6.1; WOW64; Trident/7.0; AS; rv:11.0) like Gecko"
id: 9237data: 196.87.121.200 - elliot_dolor [30/Nov/2023:13:51:26 -0800] "GET /" 400 4531 "-" "Mozilla/5.0 (X11; Linux x86_64) AppleWebKit/537.36 (KHTML, like Gecko) Chrome/33.0.1750.517 Safari/537.36"
id: 9238data: 44.133.114.73 - zoie_quibusdam [30/Nov/2023:13:51:26 -0800] "GET /sbin/jackson.mp3" 401 6277 "-" "Mozilla/5.0 (iPad; CPU OS 5_1 like Mac OS X) AppleWebKit/534.46 (KHTML, like Gecko ) Version/5.1 Mobile/9B176 Safari/7534.48.3"
Create the source
Section titled “Create the source”Now that we have a stream of data, we’ll set up an Arroyo source to read it.
Open up Arroyo at http://localhost:5115, to the “Pipelines” tab, then click “Create Pipeline.” navigate This will open up the pipeline editor.
We’ll start by defining our source, with a simple select * query.
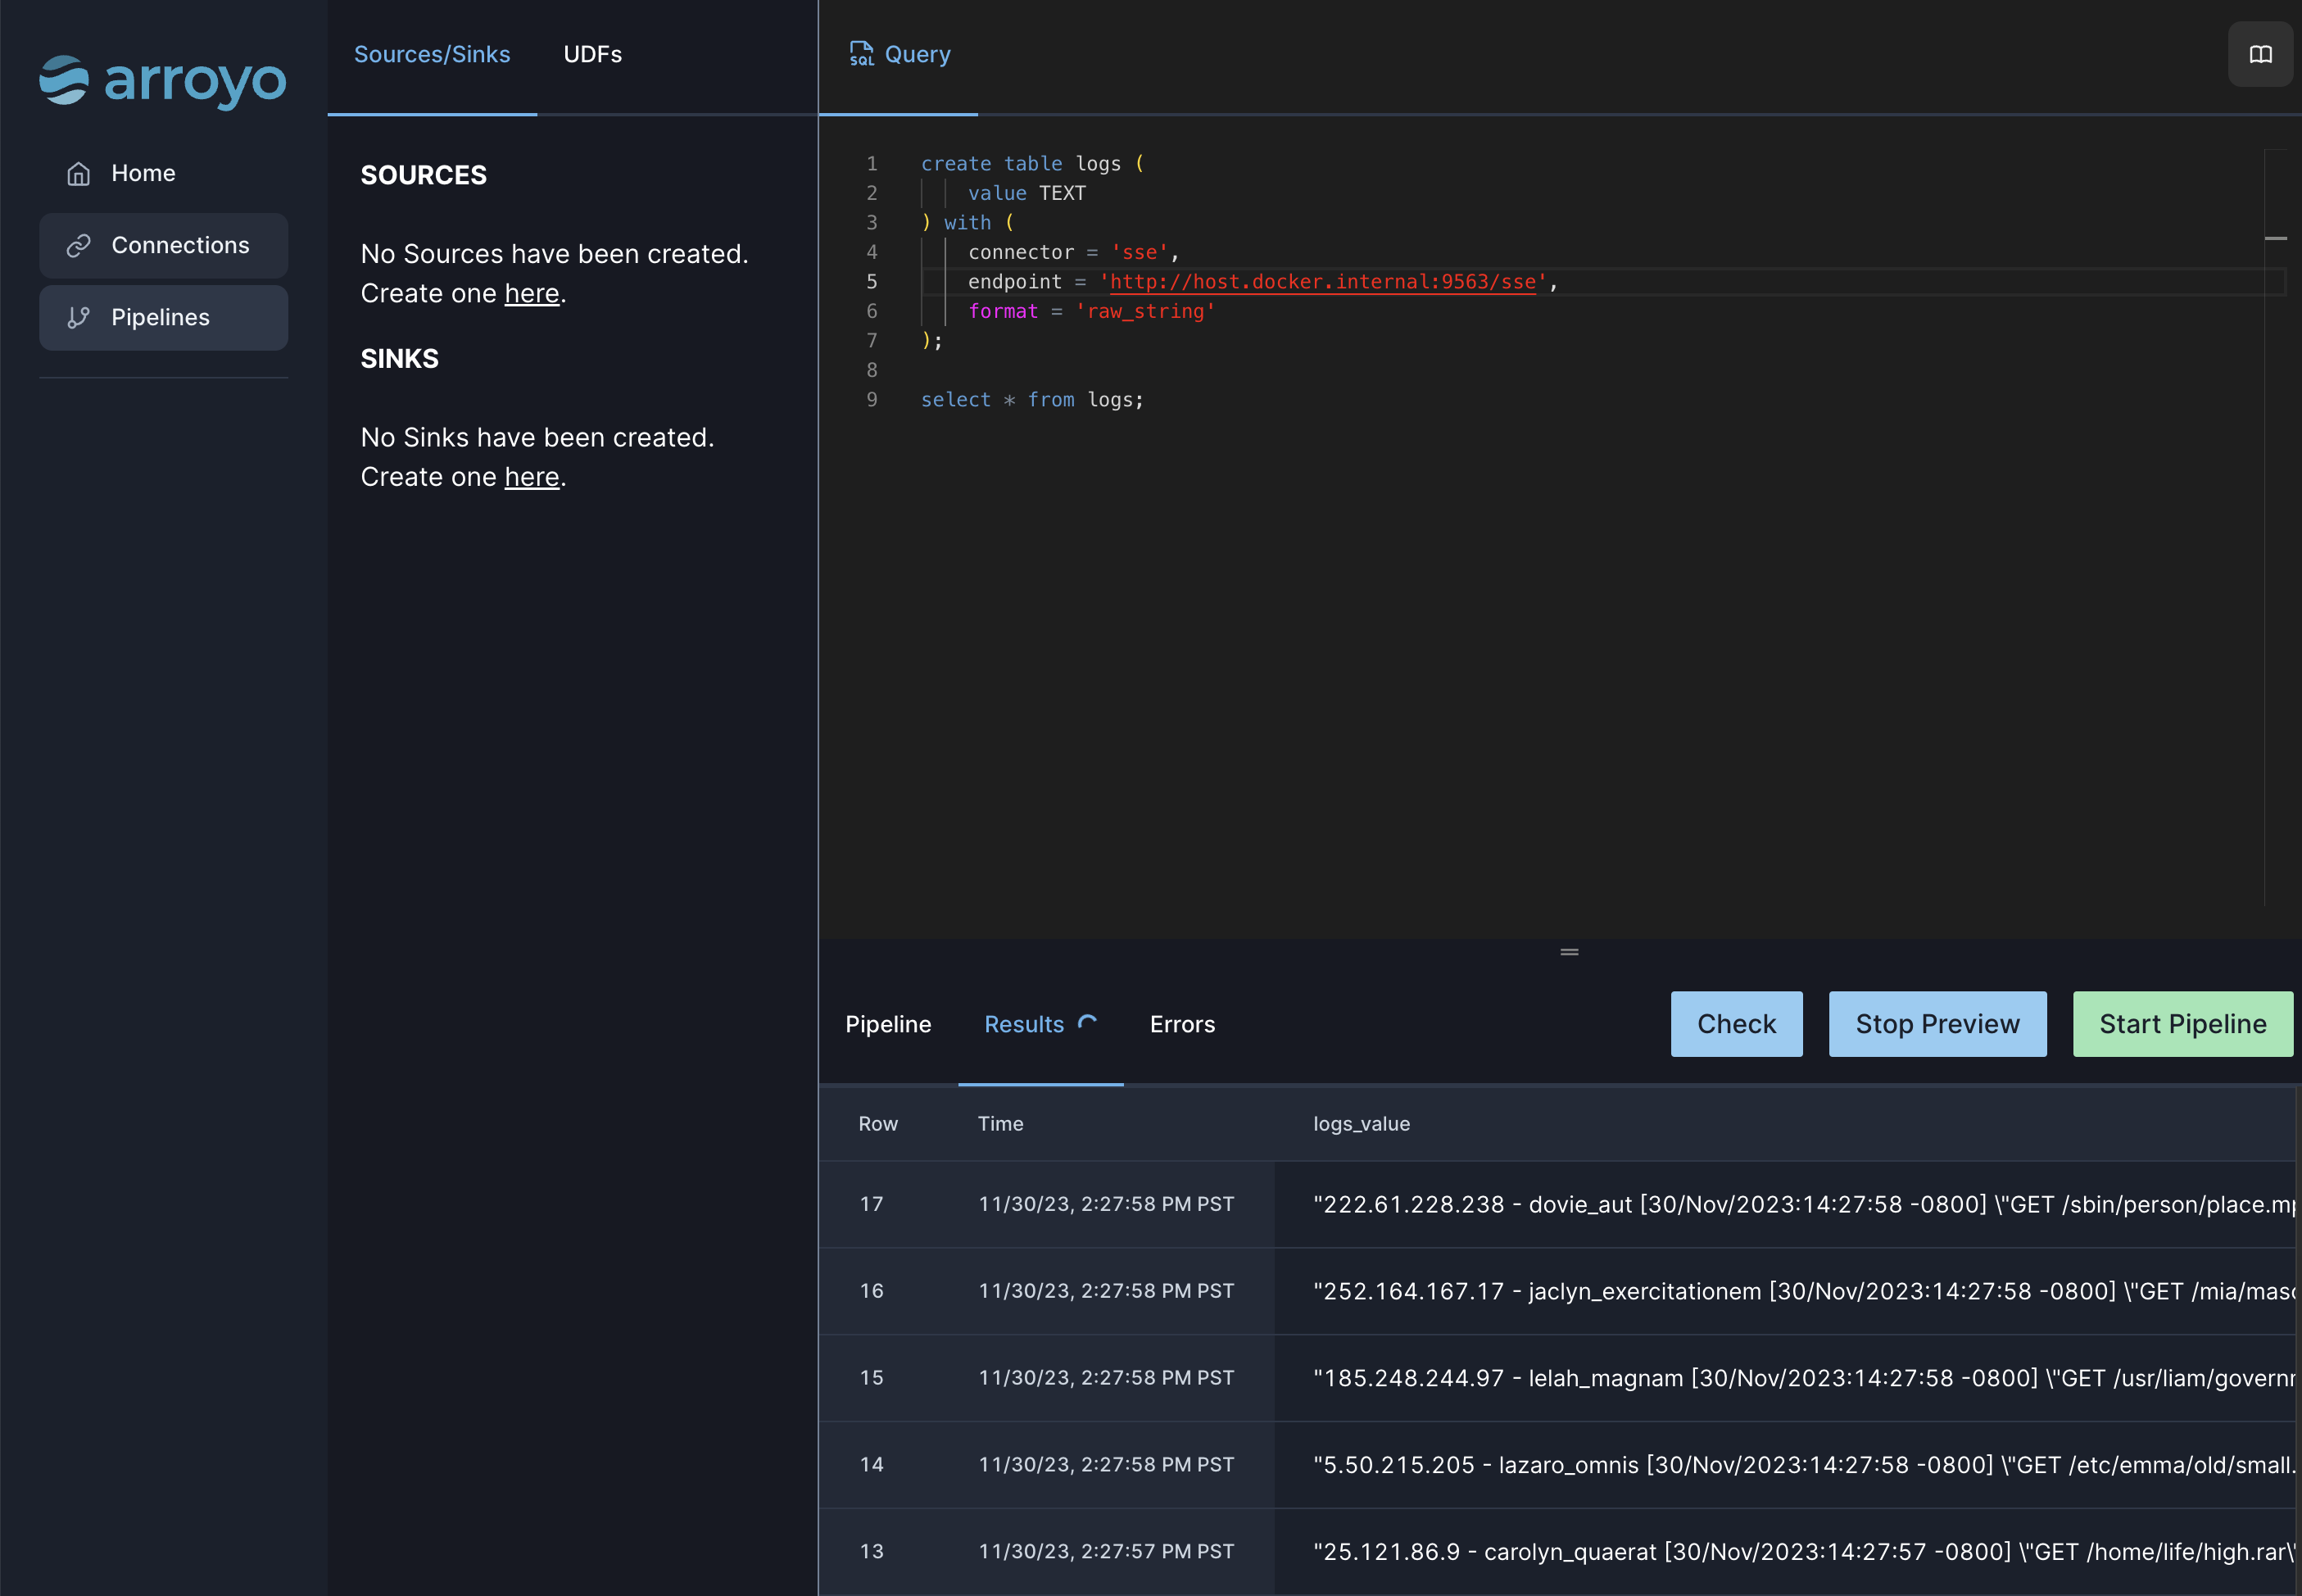
create table logs (    value TEXT) with (    connector = 'sse',    endpoint = 'http://host.docker.internal:9563/sse',    format = 'raw_string');
select * from logs;Click “Start Preview” to run the pipeline. You should see a stream of records flowing through the pipeline.
Writing the UDF
Section titled “Writing the UDF”Now that we have the data available, we can parse it into a more useful form using a UDF.
Currently, UDFs can only output a single column of a SQL data type. However, we’d like to extract multiple fields from the CLF record. The easiest way to do this today is to convert the record to JSON, then access it later using SQL JSON functions.
To do this, we’ll write a UDF that takes a string as input, parses it as a CLF record, and outputs a JSON object with the parsed fields.
For the actual parsing, we’ll rely on the Rust regex crate.
To create a new UDF, click the “UDFs” tab in the pipeline editor, then click “New.”
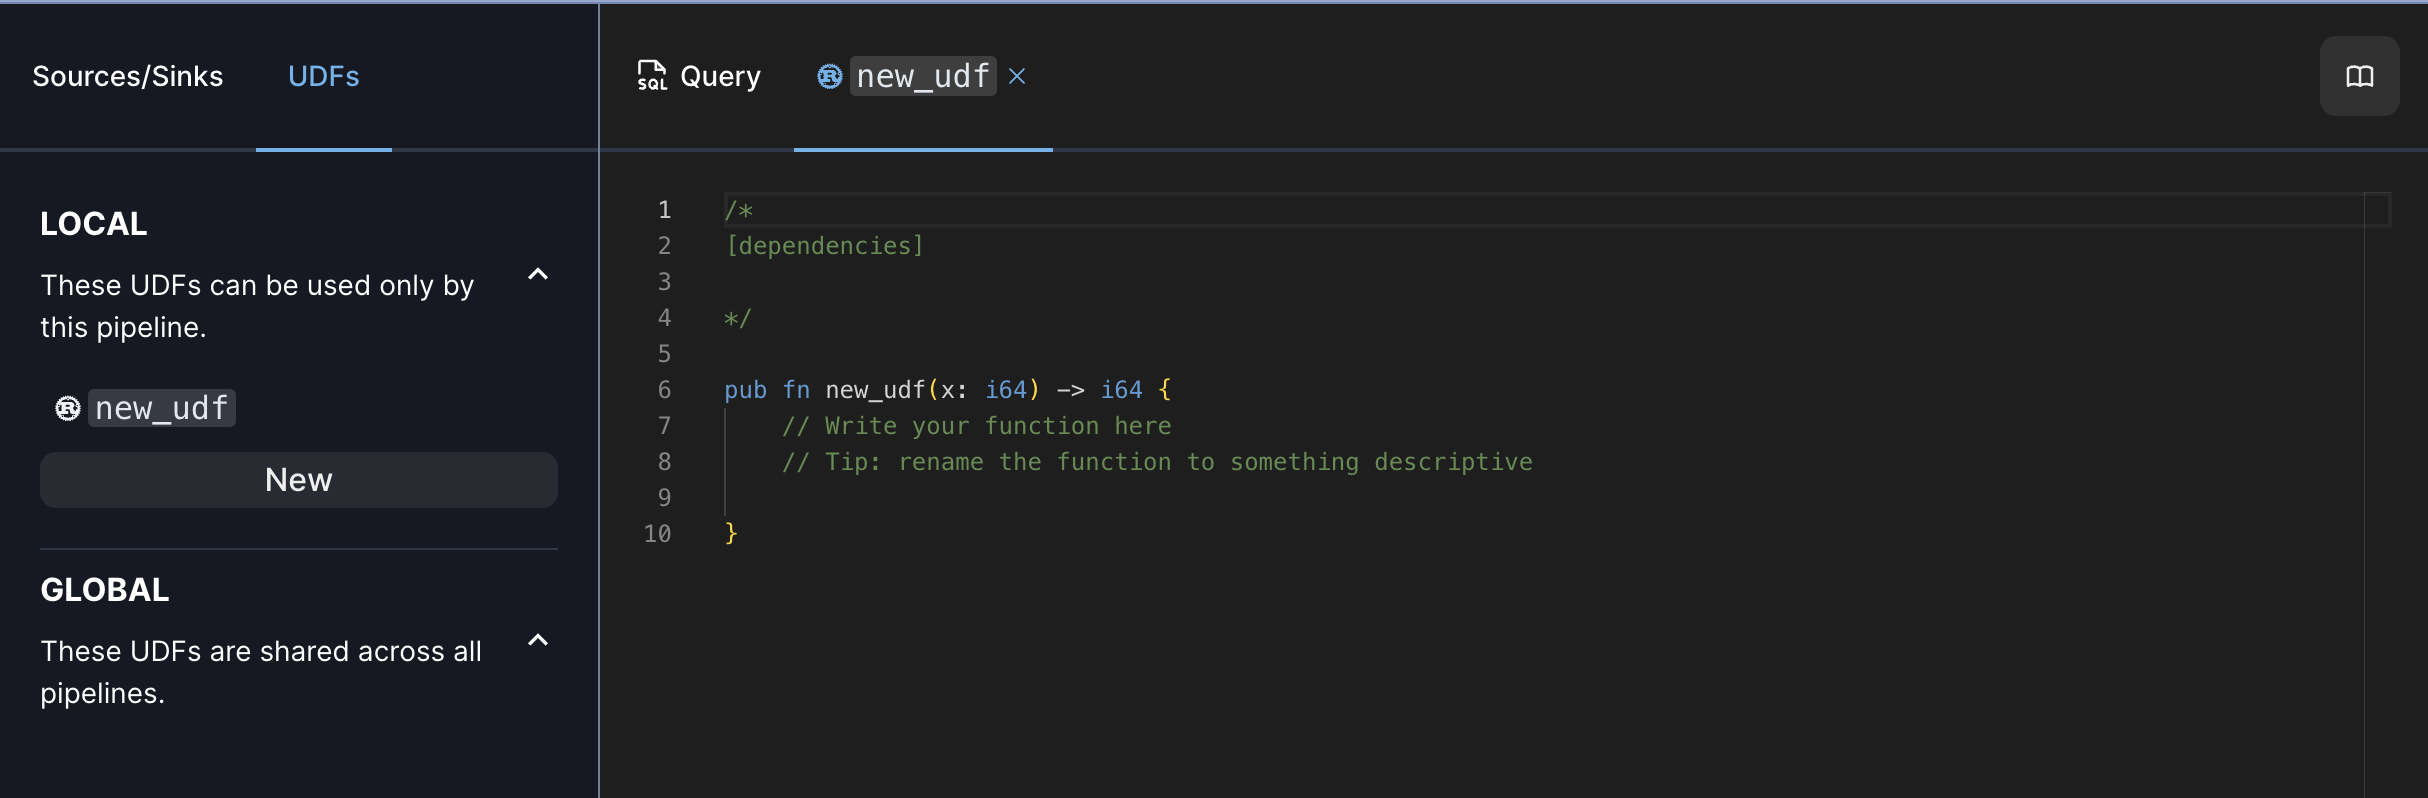
Then paste the following UDF code into the editor:
/*[dependencies]regex = "1"serde_json = "1"chrono = "0.4"*/
use arroyo_udf_plugin::udf;use regex::Regex;use serde_json::json;use chrono::DateTime;use std::str::FromStr;
#[udf]fn parse_log(s: &str) -> Option<String> {    // use OnceLock to prevent re-compilation of the regexes on every request    use std::sync::OnceLock;    static REGEX: OnceLock<Regex> = OnceLock::new();    let regex = REGEX.get_or_init(|| {        Regex::new(r#"([0-9a-f\.:]+) ([\S\-]+) ([\S\-]+) \[([^\]]+)\] "(.*)" ([0-9]{3}) ([0-9]*).*"#).unwrap()    });
    // try to parse the log, returning None if it fails    let captures = regex.captures(s)?;
    // try parsing the timestamp using the chrono library    let date = DateTime::parse_from_str(captures.get(4).unwrap().as_str(), "%d/%b/%Y:%H:%M:%S %z").ok()?;
    // pull out the fields    Some(json!({        "host": captures.get(1).unwrap().as_str().to_string(),        "ident": captures.get(2).unwrap().as_str().to_string(),        "authuser": captures.get(3).unwrap().as_str().to_string(),        "date": date.to_rfc3339(),        "request": captures.get(5).unwrap().as_str().to_string(),        "status": u16::from_str(captures.get(6).unwrap().as_str()).unwrap(),        "bytes": usize::from_str(captures.get(7).unwrap().as_str()).unwrap(),    }).to_string())}
A few things to note here, if you’re not familiar with Rust and Arroyo UDFs:
- The special
dependenciescomment at the top is used to specify the Rust crates (libraries) that are used by the UDF, specified in the same format as a Cargo.toml file. - UDFs are Rust functions that take some number of arguments and return a
value. The arguments and return value must be a supported SQL type. In this
case, we’re taking a &str (string reference) as input and returning an
Option<String>, which allows us to filter out invalid records that fail parsing. If you instead wanted to fail processing on invalid records, you could return aStringinstead and useunwrap()instead of?to handle errors. - The name of the UDF (how it will be referenced in SQL) is the name of the function, in this case
parse_log. Once you edit the name, the UI will automatically update to reflect the new name. - The
OnceLockis used to ensure that the regex is only compiled once, and then reused on subsequent calls. This is very important for performance, as the cost of compiling the regex is much higher than the cost of running it. This one optimization can improve performance by 10x or more. - We use
unwrap()—which is the panicking form of error handling in Rust—in various places in the UDF. However, in each case we use it we know that the operation cannot fail. For example, we know that if the Regex successfully matched, then the capture group must exist, so we can safely callunwrap()on it. Similarly, the regex has already validated that the status and bytes fields are valid integers, so we can safely callunwrap()on the string-to-integer conversions. - The
json!macro from the serde_json library is a very convenient way to construct JSON in Rust, allowing you to use a syntax that looks very similar to the output JSON.
Once you’ve entered the UDF, click “Check” to validate it. Any errors will be displayed in the “Errors” tab below.
Using the UDF
Section titled “Using the UDF”Now that we have the UDF defined, we can use it in our pipeline.
Return to the Query tab. We have a few options for how to use the UDF. We could use it in a SELECT statement, for example:
select parse_log(value) from logs;But there’s one other thing we need to take into account when consuming data in Arroyo: time. Arroyo is built around event-time processing, which means that records can be processed according to the time they occur, rather than the time they are processed by Arroyo. This is important for handling out-of-order and late data.
In this case, we want to use the timestamp from the log record as the event time. To do this, we will rely on Arroyo’s ability to override event time as part of the CREATE TABLE statement via virtual columns.
create table logs ( value TEXT, parsed TEXT GENERATED ALWAYS AS (parse_log(value)), event_time TIMESTAMP GENERATED ALWAYS AS (CAST(extract_json_string(parse_log(value), '$.date') as TIMESTAMP)), WATERMARK FOR event_time) with ( connector = 'sse', endpoint = 'http://host.docker.internal:9563/sse', format = 'raw_string');Here we’ve added two new columns to the table:
- parsed contains our parsed log record, as a JSON string.
- event_time contains the timestamp from the log record; we use the
extract_json_stringfunction to extract the timestamp from the JSON string.
Currently Arroyo does not support virtual columns that depend on other virtual columns, so we
have to repeat the parse_log call in the event_time column.
Let’s stop some attacks
Section titled “Let’s stop some attacks”Now that we have the data in a more useful form, we can start to do some analysis on it. One thing we might want to do is detect when a particular IP address is making a lot of requests that return 401 (Unauthorized) errors; i.e., when someone is trying to break into our server.
We’ll start by finding those users, which we’ll define as any IP address that has made more than 10 requests in the last 5 minutes that returned a 401 error.
CREATE TABLE hosts AS (    SELECT        extract_json_string(parsed, '$.host') as host,        count(*) as attempts    FROM logs    WHERE        extract_json(parsed, '$.status')[1] = 401    GROUP BY host, hop(interval '5 seconds', interval '5 minutes'));
SELECT host, attemptsFROM hostsWHERE attempts > 10;
This query operates by grouping the records by host and a 5-minute window, then counting the number of records in each group. We then filter the results to only include groups with more than 10 records using a SELECT over the virtual table.
Doing something about it
Section titled “Doing something about it”Now that we’ve identified the hosts that are making a lot of unauthorized requests, we can do something about it. For example, we could use Arroyo’s Webhook sink to tell our firewall to block the offending IP address.
CREATE TABLE block (  host TEXT,  attempts INT) WITH (  connector = 'webhook',  endpoint = '<your webhook URL here>',  format = 'json');
INSERT INTO blockSELECT host, attemptsFROM hostsWHERE attempts > 10;
To try this out, you can use a service like RequestBin to create a temporary webhook URL that will show you the requests that are being sent.
Note that when running in preview mode, Arroyo will not actually send the requests to the webhook and will instead log them to the console. To send the webhooks for real, you’ll need to start the pipeline with the “Launch” button.
Conclusion
Section titled “Conclusion”In this tutorial we’ve seen how to use UDFs to parse a custom data format, and then use that data to detect and block malicious users. This is just one example of the power of UDFs, which can also be used to implement complex logic, new types of aggregations, and more.
We’d love to hear what you’re using UDFs for! If you have any questions or feedback, please reach out on Discord.